

Deploy your site
Publish your static site to the web and manage versioned deployments.
Deploy your site
Deploying (or publishing) your site pushes your current files to the live URL so visitors can see your latest changes. Public publishing requires a paid static hosting plan. Free-plan users can create a site, edit the workspace, and preview it, but publishing to the public live hostname opens the go-live plan dialog.
How deployments work
Every time you publish, YWT creates a versioned deployment. This means:
- Each deployment is a complete snapshot of your site at that moment.
- Previous deployments are kept in your history. You can inspect them, load a built version back into the workspace, and activate a built deployment when your plan allows publishing.
- Your live URL (e.g.,
mysite.ywt.appor a connected custom domain) serves the active deployment. - Each deployment also gets its own unique preview URL that never changes.
Deployments are designed for static files. There is no server-side build step on the hosting edge; the files in your workspace are published as static assets.
Publishing your site
Make your changes
Use the built-in editor to edit your HTML, CSS, and JavaScript files. Saved workspace changes are not live on your site until you explicitly publish.
Click Publish
When you are ready, click the Publish button in the editor toolbar.
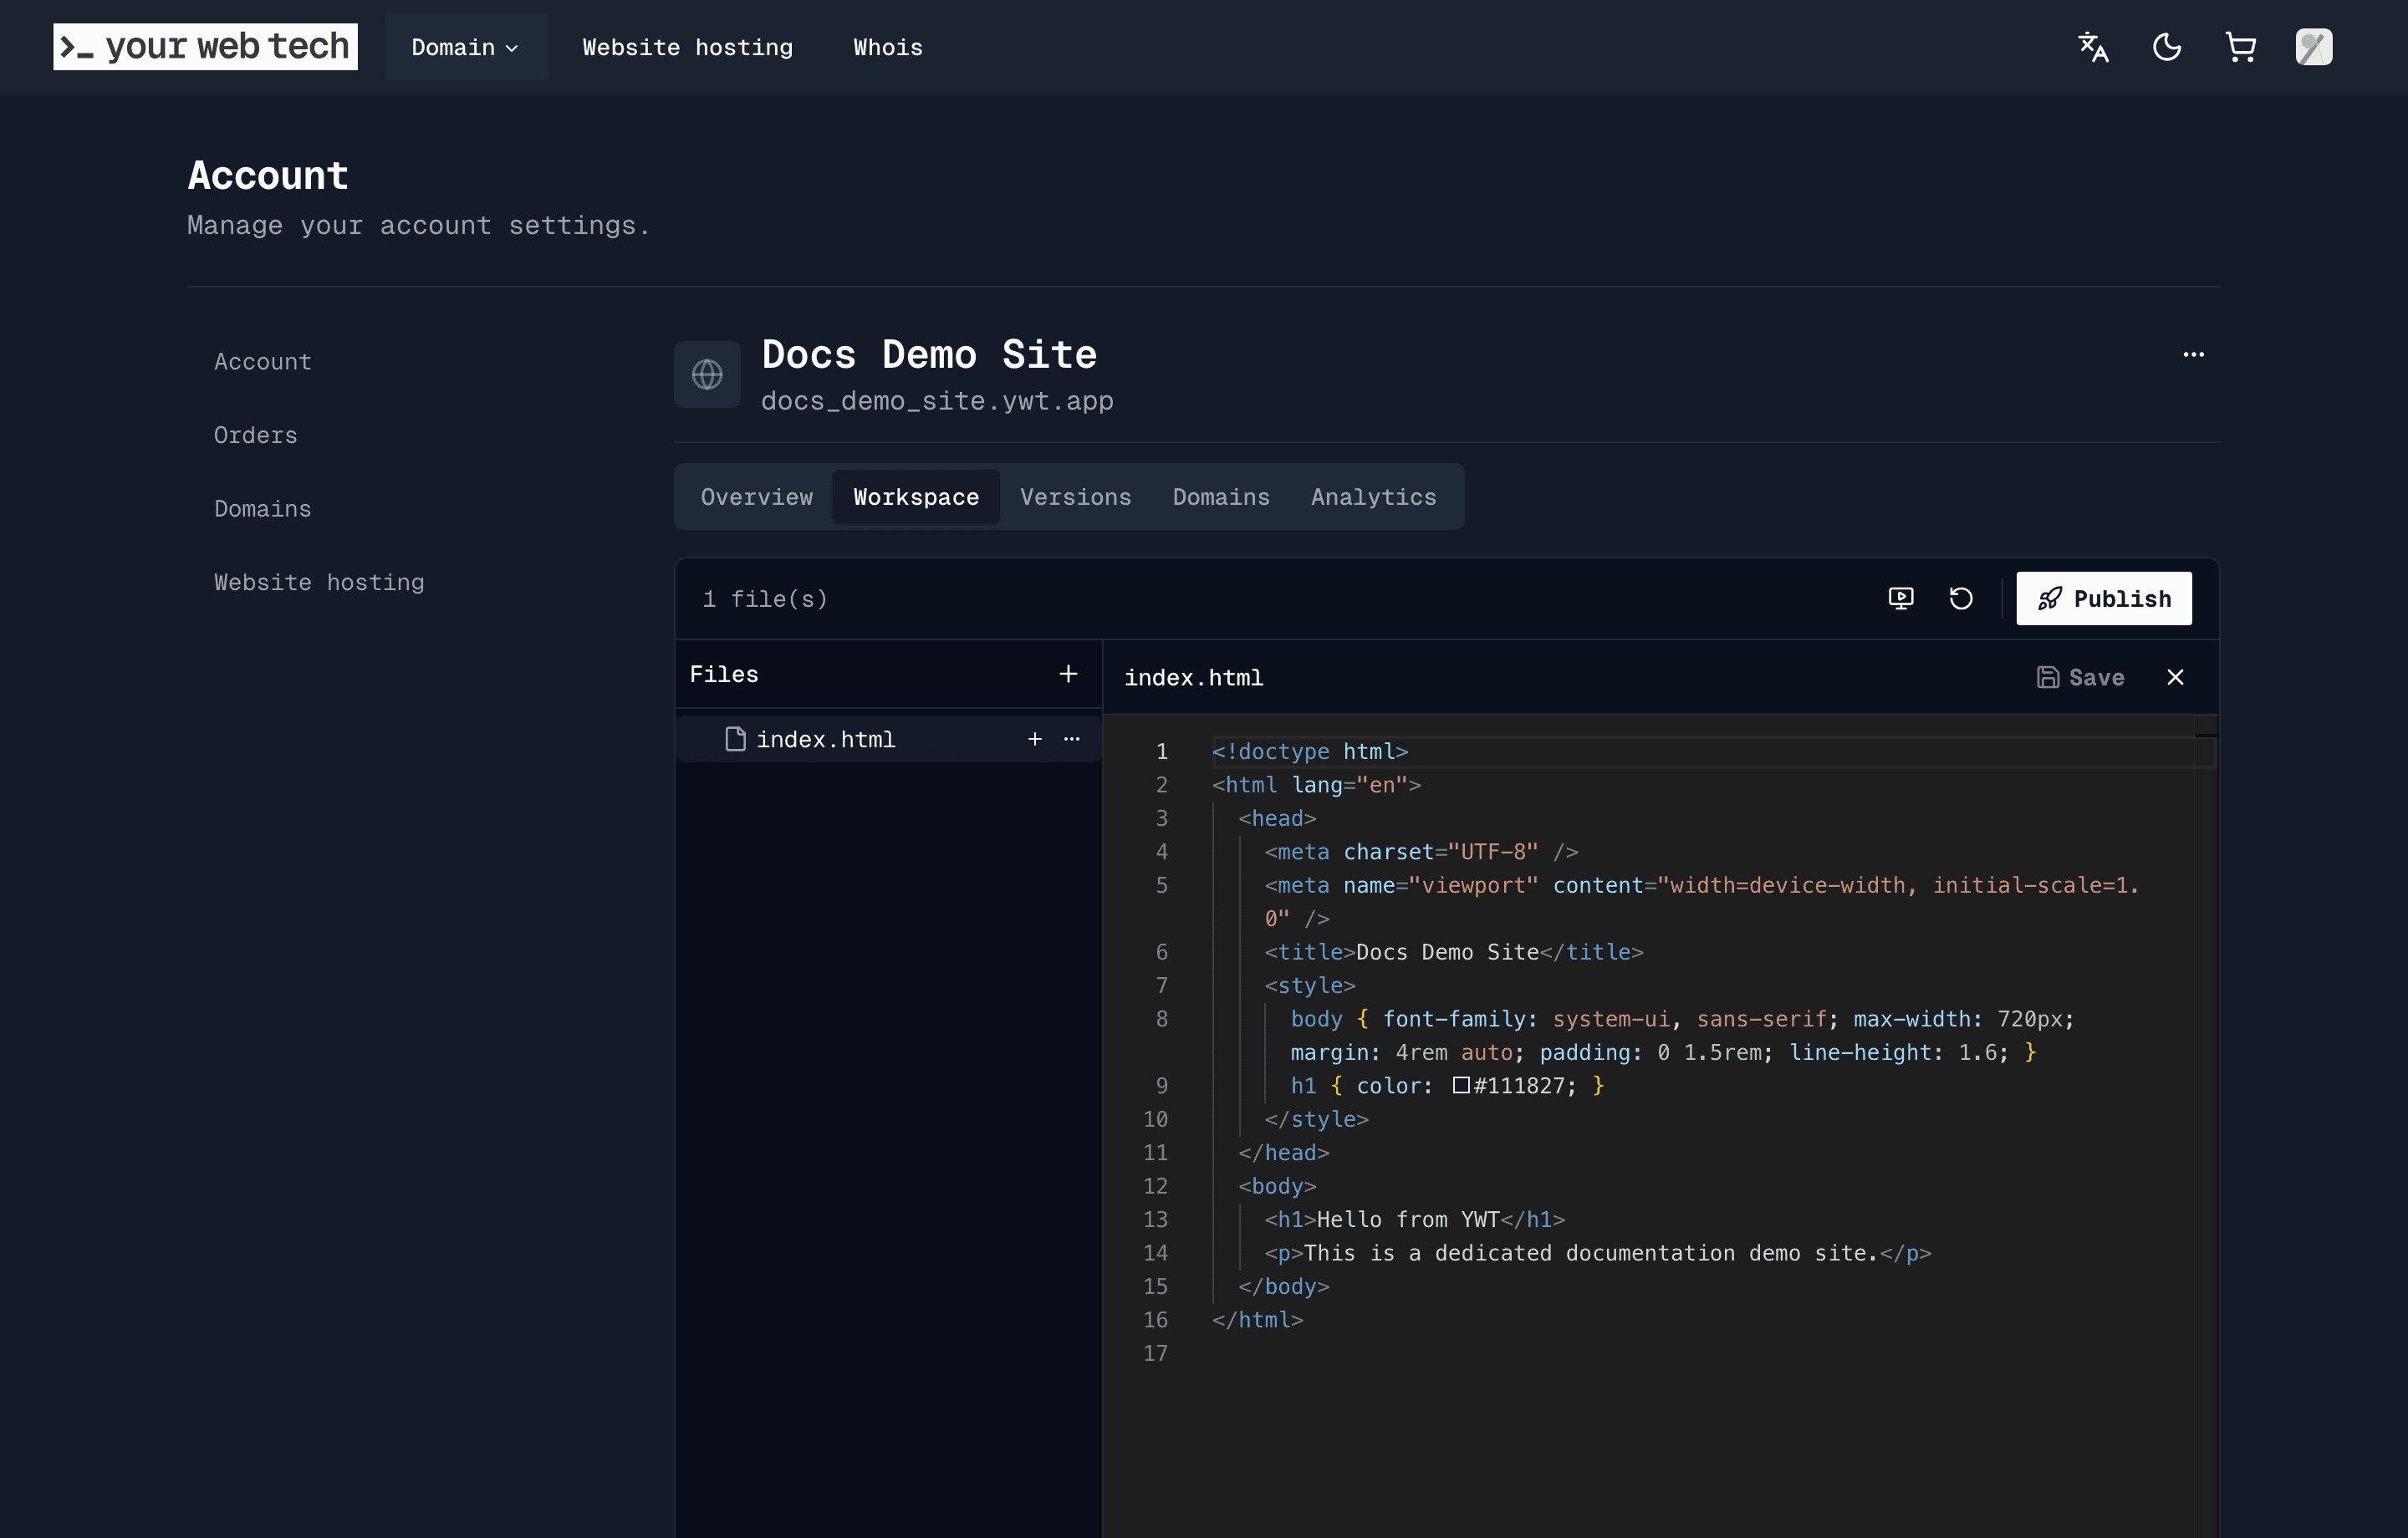
If you are on the Free plan, YWT shows the go-live plan dialog. If your site already has an active deployment, YWT asks whether to update the current version or create a new version.
Confirm the deployment
Confirm the publish option. YWT uploads your files and activates the selected deployment when publishing is allowed by your plan.
Verify your site
Visit your site URL (e.g., https://mysite.ywt.app) to confirm everything looks correct. You can also use the preview URL that was generated for this specific deployment.
Deployment history
Every deployment you create is recorded in the site's Versions page.
For each deployment you can see:
- Version identifier — A short hash-style identifier for the deployment.
- Timestamp — When the deployment was created.
- Preview URL — A unique, permanent link to that exact version.
- Status — Whether this version is currently live or a past version.
Activating a previous version
If something goes wrong with a deployment, you can open a previous built version and activate it.
Open deployment history
Go to your site's Versions tab.
Find the version to restore
Browse or search the list for the deployment you want to restore. Use the preview URL to verify it is the right one.
Activate or load the version
Open the deployment and activate the built version if you want it to become the live deployment. You can also load a built version back into the workspace when you want to continue editing from it.
Activating a previous version changes the live site, but it does not automatically change the workspace files. Use the load-from-version option when you want the workspace to start from an earlier deployment.
Deployment limits
Deployment and storage behavior is constrained by your active static hosting plan. Current plan storage limits are listed in Platform Limits. Plan purchase, upgrade, downgrade, renewal, and cancellation behavior is covered in Static hosting plans and billing.
After publishing
After a deployment is active, you can:
- review traffic in Hosting analytics
- connect or verify custom domains
- manage older versions from the Versions page
- delete the site when you no longer need it, as described in Manage or delete a site
Next steps
- Set up a custom domain to serve your site on your own
.chor.lidomain. - Learn about preview URLs to share specific versions with others before going live.
- Review hosting analytics after the site receives traffic.