

DNSSEC
Secure your domain with DNSSEC to prevent DNS spoofing and cache poisoning. Learn how to enable it with YWT or external nameservers.
DNSSEC
DNSSEC (Domain Name System Security Extensions) adds a layer of cryptographic verification to DNS. It signs DNS responses so that resolvers can confirm the data has not been tampered with between the authoritative nameserver and the end user. This protects against attacks like DNS spoofing and cache poisoning.
New to DNSSEC? Our guide to what DNSSEC is and whether you need it explains the chain of trust and the trade-offs in plain language before you enable it here.
How DNSSEC works
Without DNSSEC, a DNS response is taken at face value — there is no way for a resolver to verify that the answer it received is authentic. DNSSEC solves this by creating a chain of trust:
- The authoritative nameserver signs DNS records with a private key.
- The corresponding public key is published as a DNSKEY record.
- A DS (Delegation Signer) record is stored at the parent zone (the .ch or .li registry), linking the domain to the correct signing key.
- Resolvers that support DNSSEC validation can follow this chain to verify that every response is authentic.
If any link in the chain is broken or the signatures do not match, the resolver rejects the response — which is why correct configuration is critical.
Enabling DNSSEC with YWT nameservers
If your domain uses YWT nameservers (ns1.ywt.ch / ns2.ywt.ch), enabling DNSSEC is straightforward because YWT manages the signing keys and DS records automatically.
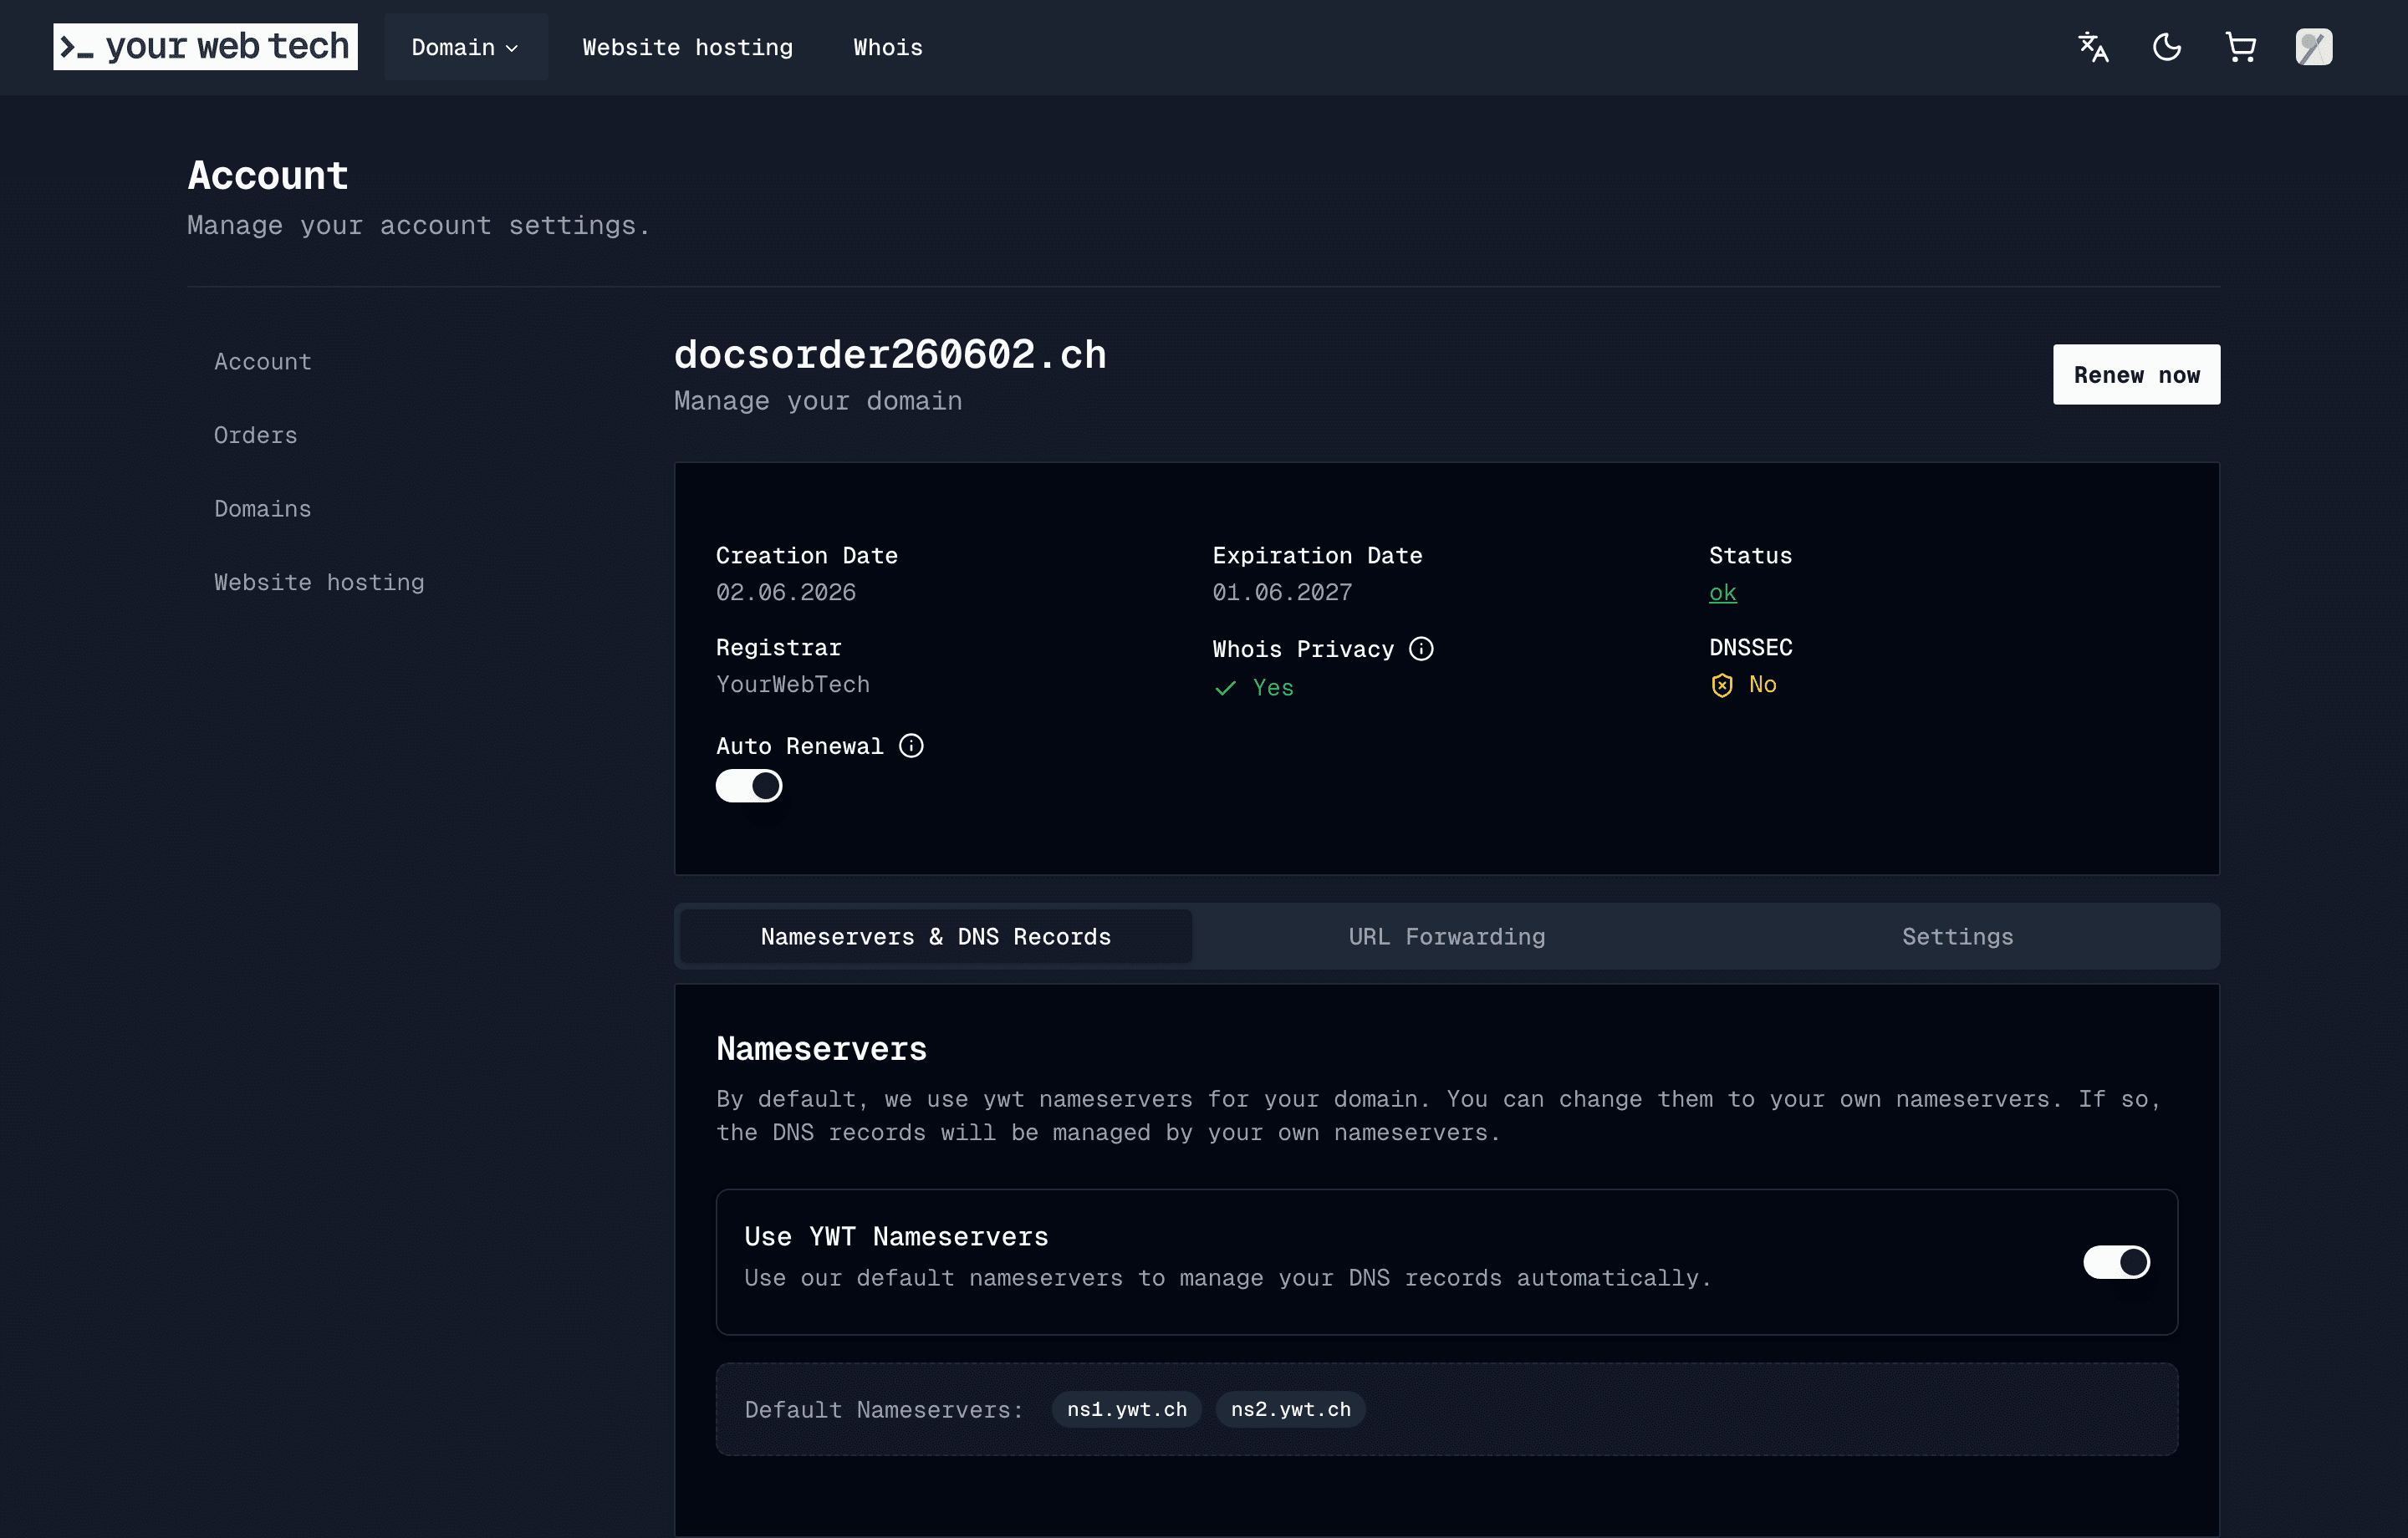
Open DNSSEC settings
Log in to your YWT account, go to Domains, select your domain, then open Nameservers & DNS Records and find the DNSSEC card.
Enable DNSSEC
Toggle DNSSEC to Enabled. YWT will automatically:
- Generate DNSSEC signing keys for your zone.
- Sign all DNS records.
- Submit the DS record to the .ch or .li registry.
Wait for activation
The DS record needs to propagate through the registry. This typically takes a few minutes to a few hours. Once active, resolvers worldwide will begin validating your DNS responses.
With YWT nameservers, you do not need to enter DS values manually. YWT generates signing data and submits the DS record to the registry when you enable DNSSEC.
Enabling DNSSEC with external nameservers
If your domain uses external nameservers (for example Cloudflare or AWS Route 53), you need to manually add the DS record at YWT so the registry can validate the chain of trust.
Enable DNSSEC at your DNS provider
In your external DNS provider's dashboard, enable DNSSEC for your domain's zone. The provider will generate signing keys and begin signing DNS responses.
Obtain the DS record details
Your DNS provider will display the DS record values you need to submit to the registry. You will need four pieces of information:
- Key Tag — A numeric identifier (e.g.,
12345). - Algorithm — The signing algorithm number (e.g.,
13for ECDSAP256SHA256). - Digest Type — The hash algorithm (e.g.,
2for SHA-256). - Digest — The hash value itself (a long hexadecimal string).
Add the DS record at YWT
In the Advanced DNSSEC Management section at YWT, enter the DS record details provided by your external DNS provider. Save the changes.
Wait for registry propagation
The DS record is submitted to the .ch or .li registry. Allow a few minutes to a few hours for it to take effect. You can verify using an online DNSSEC analyzer tool.
Mismatched DS records will break your domain. If the DS record at the registry does not match the signing keys at your nameserver, DNSSEC validation will fail. Resolvers that enforce DNSSEC (which is increasingly common) will refuse to resolve your domain, effectively taking it offline. Always double-check the DS record values before saving.
Disabling DNSSEC
You may need to disable DNSSEC when switching nameservers or troubleshooting resolution issues.
With YWT nameservers
Go to Domains, select the domain, open Nameservers & DNS Records, and toggle DNSSEC to Disabled in the DNSSEC card.
YWT will remove the DS record from the registry and stop signing DNS responses.
Wait for the DS record removal to propagate (a few minutes to a few hours) before making any nameserver changes.
With external nameservers
In Advanced DNSSEC Management at YWT, remove the DS record.
Wait for the removal to propagate at the registry level.
Then disable DNSSEC at your external DNS provider.
Always disable DNSSEC before changing nameservers. The correct order is: disable DNSSEC, wait for propagation, change nameservers, wait for propagation, then re-enable DNSSEC with the new provider's keys. Skipping this step is one of the most common causes of domain outages. See Nameservers for the full nameserver change procedure.
Verifying DNSSEC
You can check whether DNSSEC is correctly configured for your domain using:
- Command line:
dig +dnssec example.ch— look for thead(authenticated data) flag in the response. - Online tools: DNSSEC analyzers like dnsviz.net or Verisign's DNSSEC debugger will show you the full chain of trust and highlight any issues.
Frequently asked questions
Does DNSSEC affect performance? DNSSEC adds slightly larger DNS responses due to the signatures, but the impact on end-user performance is negligible. Modern resolvers handle DNSSEC validation efficiently.
Is DNSSEC required? DNSSEC is not required, but it is strongly recommended. It is an important security measure that protects your domain's visitors from being redirected to malicious servers.
What happens if I misconfigure DNSSEC? If the DS record at the registry does not match your nameserver's keys, DNSSEC-validating resolvers will return SERVFAIL errors for your domain. This effectively makes your domain unreachable for users whose resolvers enforce DNSSEC. The fix is to either correct the DS record or disable DNSSEC entirely.